1.k8s简单介绍
Kubernetes(简称K8S)是开源的容器集群管理系统,可以实现容器集群的自动化部署、自动扩缩容、维护等功能。它既是一款容器编排工具,也是全新的基于容器技术的分布式架构领先方案。在Docker技术的基础上,为容器化的应用提供部署运行、资源调度、服务发现和动态伸缩等功能,提高了大规模容器集群管理的便捷性。
K8S集群中有管理节点与工作节点两种类型。管理节点主要负责K8S集群管理,集群中各节点间的信息交互、任务调度,还负责容器、Pod、NameSpaces、PV等生命周期的管理。工作节点主要为容器和Pod提供计算资源,Pod及容器全部运行在工作节点上,工作节点通过kubelet服务与管理节点通信以管理容器的生命周期,并与集群其他节点进行通信。
2.环境准备
[root@gtj-test01 ~]# cat /etc/redhat-release
CentOS Linux release 7.6.1810 (Core)
[root@gtj-test01 ~]# lsb_release -a
LSB Version:    :core-4.1-amd64:core-4.1-noarch:cxx-4.1-amd64:cxx-4.1-noarch:desktop-4.1-amd64:desktop-4.1-noarch:languages-4.1-amd64:languages-4.1-noarch:printing-4.1-amd64:printing-4.1-noarch
Distributor ID: CentOS
Description:    CentOS Linux release 7.6.1810 (Core)
Release:    7.6.1810
Codename:   Core
#关闭防火墙
systemctl disable firewalld
systemctl stop firewalld
systemctl status firewalld
# 添加主机名与IP对应关系
172.40.30.15 gtj-test01.upsmart.com gtj-test01
172.40.30.13 gtj-test02.upsmart.com gtj-test02
172.40.30.31 gtj-test03.upsmart.com gtj-test03

#配置内核参数,将桥接的IPv4流量传递到iptables的链
cat > /etc/sysctl.d/k8s.conf <<EOF
net.bridge.bridge-nf-call-ip6tables = 1
net.bridge.bridge-nf-call-iptables = 1
EOF
sysctl --system
# 配置setenforce
setenforce 0
sed -i "s/^SELINUX=enforcing/SELINUX=disabled/g" /etc/sysconfig/selinux
# 关闭交换分区
swapoff -a
sed -i 's/.*swap.*/#&/' /etc/fstab
3.所有节点安装Docker/kubeadm/kubelet
3.1 配置腾讯yum源
 yum -y install wget
 mkdir /etc/yum.repos.d/bak && mv /etc/yum.repos.d/*.repo /etc/yum.repos.d/bak
wget -O /etc/yum.repos.d/CentOS-Base.repo http://mirrors.cloud.tencent.com/repo/centos7_base.repo
 wget -O /etc/yum.repos.d/epel.repo http://mirrors.cloud.tencent.com/repo/epel-7.repo
 yum clean all && yum makecache
3.2 安装Docker
 wget https://mirrors.aliyun.com/docker-ce/linux/centos/docker-ce.repo -O /etc/yum.repos.d/docker-ce.repo
yum install -y docker-ce-18.09.7-3.el7
systemctl enable docker && systemctl start docker
docker --version
Docker version 18.09.7, build 2d0083d

加速
sudo cat  /etc/docker/daemon.json
{
  "registry-mirrors": ["https://de378wx8.mirror.aliyuncs.com"]
}
systemctl restart docker
3.3 添加阿里云Kubernetes源
cat >/etc/yum.repos.d/kubernetes.repo <<EOF
[kubernetes]
name=Kubernetes
baseurl=https://mirrors.aliyun.com/kubernetes/yum/repos/kubernetes-el7-x86_64/
enabled=1
gpgcheck=1
repo_gpgcheck=1
gpgkey=https://mirrors.aliyun.com/kubernetes/yum/doc/yum-key.gpg https://mirrors.aliyun.com/kubernetes/yum/doc/rpm-package-key.gpg
EOF
3.4 安装kubeadm,kubelet和kubectl
yum install -y kubelet-1.14.2 kubeadm-1.14.2 kubectl-1.14.2
systemctl enable kubelet
3.5 部署Kubernetes Master
在master进行Kubernetes集群初始化
kubeadm init --kubernetes-version=1.14.2 --apiserver-advertise-address=172.40.30.15 --image-repository registry.aliyuncs.com/google_containers --service-cidr=10.1.0.0/16 --pod-network-cidr=10.244.0.0/16

执行结果:
Your Kubernetes control-plane has initialized successfully!

To start using your cluster, you need to run the following as a regular user:

  mkdir -p HOME/.kube
  sudo cp -i /etc/kubernetes/admin.confHOME/.kube/config
  sudo chown (id -u):(id -g) $HOME/.kube/config

You should now deploy a pod network to the cluster.
Run "kubectl apply -f [podnetwork].yaml" with one of the options listed at:
  https://kubernetes.io/docs/concepts/cluster-administration/addons/

Then you can join any number of worker nodes by running the following on each as root:

kubeadm join 172.40.30.15:6443 --token fcg2g6.uvob2os0nbsbn27h \
    --discovery-token-ca-cert-hash sha256:c0d3c0421be44d3f496cfd47ac0b5dc343236e9af036ff0983fcb4c55650eb36
由于默认拉取镜像地址k8s.gcr.io国内无法访问,这里指定阿里云镜像仓库地址。
3.6 配置kubectl工具
 mkdir -p /root/.kube
 cp /etc/kubernetes/admin.conf /root/.kube/config
 sudo chown (id -u):(id -g) $HOME/.kube/config

查看
[root@gtj-test01 ~]# kubectl get cs
NAME                 STATUS    MESSAGE             ERROR
scheduler            Healthy   ok
controller-manager   Healthy   ok
etcd-0               Healthy   {"health":"true"}
3.7 安装Pod网络插件(CNI)
kubectl apply -f https://raw.githubusercontent.com/coreos/flannel/a70459be0084506e4ec919aa1c114638878db11b/Documentation/kube-flannel.yml
4.部署Node节点
向集群添加新节点,执行在kubeadm init输出的kubeadm join命令:
kubeadm join 172.40.30.15:6443 --token fcg2g6.uvob2os0nbsbn27h --discovery-token-ca-cert-hash sha256:c0d3c0421be44d3f496cfd47ac0b5dc343236e9af036ff0983fcb4c55650eb36
查看:
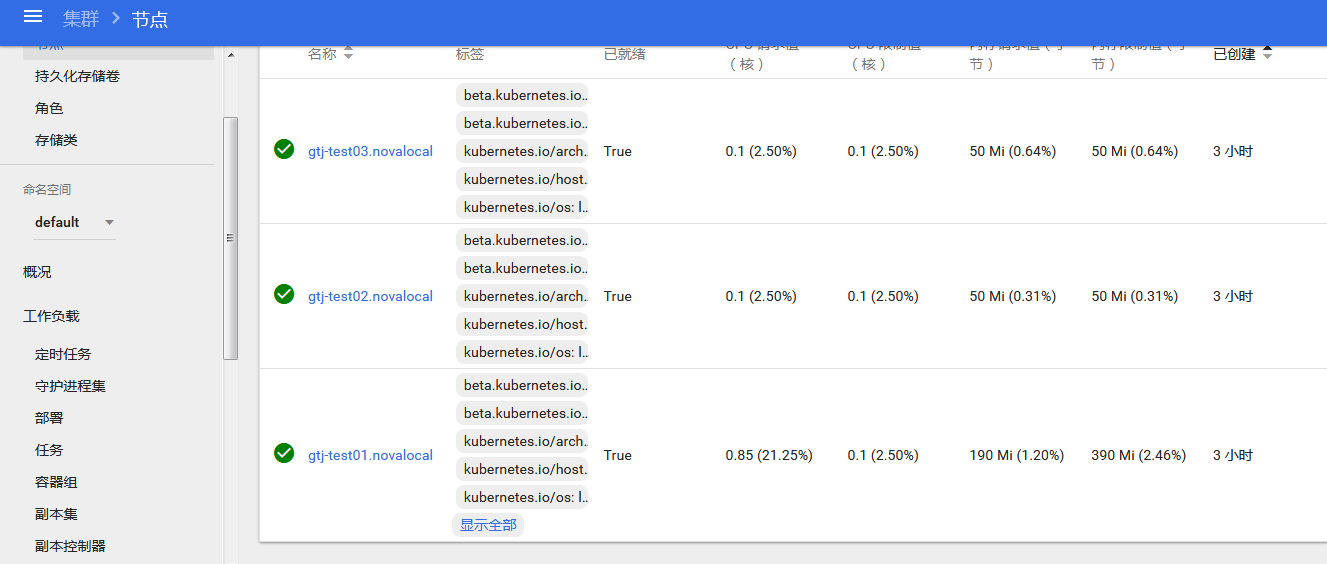
[root@gtj-test01 ~]# kubectl get nodes
NAME STATUS ROLES AGE VERSION
gtj-test01.novalocal Ready master 10h v1.14.2
gtj-test02.novalocal Ready <none> 10h v1.14.2
gtj-test03.novalocal Ready <none> 10h v1.14.2
5.测试kubernetes集群
[root@gtj-test01 ~]#  kubectl create deployment nginx --image=nginx
deployment.apps/nginx created
[root@gtj-test01 ~]# kubectl expose deployment nginx --port=80 --type=NodePort
service/nginx exposed
[root@gtj-test01 ~]# kubectl get pod,svc
NAME                         READY   STATUS    RESTARTS   AGE
pod/nginx-65f88748fd-nxqdl   1/1     Running   0          23s

NAME                 TYPE        CLUSTER-IP    EXTERNAL-IP   PORT(S)        AGE
service/kubernetes   ClusterIP   10.1.0.1      <none>        443/TCP        25m
service/nginx        NodePort    10.1.30.230   <none>        80:30701/TCP   10s
6.部署 Dashboard
6.1创建Dashboard的yaml文件
 wget https://raw.githubusercontent.com/kubernetes/dashboard/v1.10.1/src/deploy/recommended/kubernetes-dashboard.yaml
 ```
## 6.2 修改yaml文件
```python
默认Dashboard只能集群内部访问,修改Service为NodePort类型,暴露到外部
 sed -i 's/k8s.gcr.io/loveone/g' kubernetes-dashboard.yaml
 sed -i '/targetPort:/a\ \ \ \ \ \ nodePort: 30001\n\ \ type: NodePort' kubernetes-dashboard.yaml
查看修改结果:
kind: Service
apiVersion: v1
metadata:
  labels:
    k8s-app: kubernetes-dashboard
  name: kubernetes-dashboard
  namespace: kube-system
spec:
  ports:
    - port: 443
      targetPort: 8443
      nodePort: 30001
  type: NodePort
  selector:
    k8s-app: kubernetes-dashboard
6.3 创建dashboard
kubectl create -f kubernetes-dashboard.yaml
6.4 创建完成后,检查相关服务运行状态
[root@gtj-test01 ~]# kubectl get deployment kubernetes-dashboard -n kube-system
NAME                   READY   UP-TO-DATE   AVAILABLE   AGE
kubernetes-dashboard   1/1     1            1           2m22s
[root@gtj-test01 ~]# kubectl get pods -n kube-system -o wide
NAME                                           READY   STATUS    RESTARTS   AGE     IP             NODE                   NOMINATED NODE   READINESS GATES
coredns-8686dcc4fd-k2hdq                       1/1     Running   0          34m     10.244.0.2     gtj-test01.novalocal   <none>           <none>
coredns-8686dcc4fd-v65qk                       1/1     Running   0          34m     10.244.0.3     gtj-test01.novalocal   <none>           <none>
etcd-gtj-test01.novalocal                      1/1     Running   1          33m     172.40.30.15   gtj-test01.novalocal   <none>           <none>
kube-apiserver-gtj-test01.novalocal            1/1     Running   1          34m     172.40.30.15   gtj-test01.novalocal   <none>           <none>
kube-controller-manager-gtj-test01.novalocal   1/1     Running   1          33m     172.40.30.15   gtj-test01.novalocal   <none>           <none>
kube-flannel-ds-amd64-bzljv                    1/1     Running   0          15m     172.40.30.13   gtj-test02.novalocal   <none>           <none>
kube-flannel-ds-amd64-jjvwm                    1/1     Running   0          10m     172.40.30.31   gtj-test03.novalocal   <none>           <none>
kube-flannel-ds-amd64-wx9xg                    1/1     Running   0          29m     172.40.30.15   gtj-test01.novalocal   <none>           <none>
kube-proxy-8cmqf                               1/1     Running   0          15m     172.40.30.13   gtj-test02.novalocal   <none>           <none>
kube-proxy-dbhhx                               1/1     Running   1          34m     172.40.30.15   gtj-test01.novalocal   <none>           <none>
kube-proxy-q972p                               1/1     Running   0          10m     172.40.30.31   gtj-test03.novalocal   <none>           <none>
kube-scheduler-gtj-test01.novalocal            1/1     Running   1          34m     172.40.30.15   gtj-test01.novalocal   <none>           <none>
kubernetes-dashboard-76f6bf8c57-clc4r          1/1     Running   0          2m27s   10.244.2.2     gtj-test03.novalocal   <none>           <none>
[root@gtj-test01 ~]#  netstat -lntup|grep 3000
tcp6       0      0 :::30001                :::*                    LISTEN      3038/kube-proxy
[root@gtj-test01 ~]#  kubectl get services -n kube-system
NAME                   TYPE        CLUSTER-IP    EXTERNAL-IP   PORT(S)                  AGE
kube-dns               ClusterIP   10.1.0.10     <none>        53/UDP,53/TCP,9153/TCP   35m
kubernetes-dashboard   NodePort    10.1.36.133   <none>        443:30001/TCP            2m56s
[root@gtj-test01 ~]#
6.5 访问k8s web
访问地址:http://NodeIP:30001
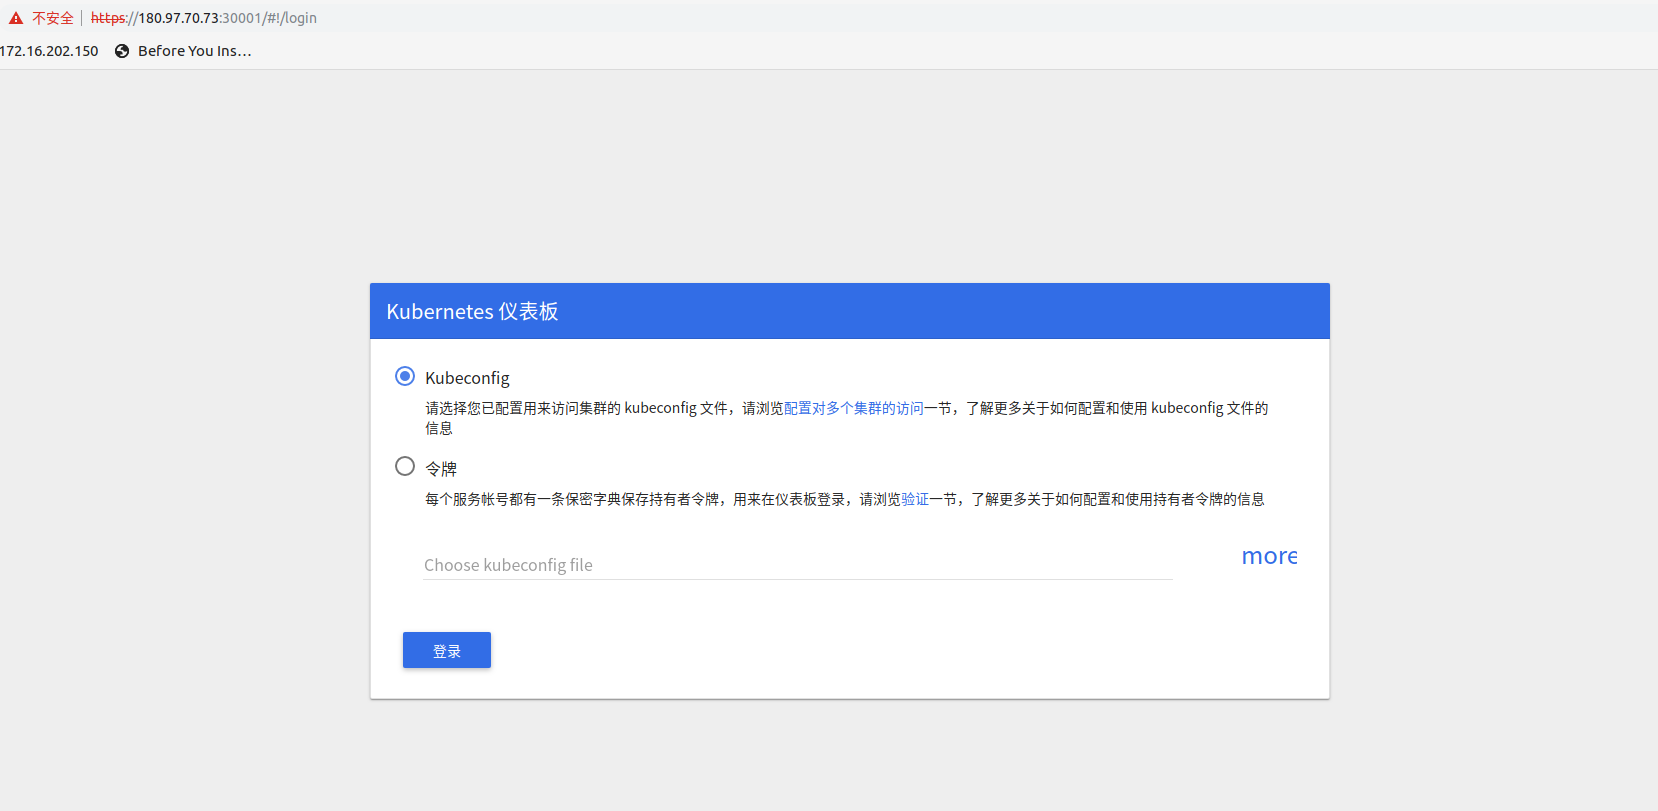
6.6 创建令牌登录
[root@gtj-test01 ~]# kubectl create serviceaccount dashboard-admin -n kube-system
serviceaccount/dashboard-admin created
[root@gtj-test01 ~]#  kubectl create clusterrolebinding dashboard-admin --clusterrole=cluster-admin --serviceaccount=kube-system:dashboard-admin
clusterrolebinding.rbac.authorization.k8s.io/dashboard-admin created
[root@gtj-test01 ~]#  kubectl describe secrets -n kube-system (kubectl -n kube-system get secret | awk '/dashboard-admin/{print1}')
Name:         dashboard-admin-token-8vx8m
Namespace:    kube-system
Labels:       <none>
Annotations:  kubernetes.io/service-account.name: dashboard-admin
              kubernetes.io/service-account.uid: 583d317b-bcc1-11e9-b287-fa163e7260f4

Type:  kubernetes.io/service-account-token

ca.crt:     1025 bytes
namespace:  11 bytes
token:      eyJhbGciOiJSUzI1NiIsImtpZCI6IiJ9.eyJpc3MiOiJrdWJlcm5ldGVzL3NlcnZpY2VhY2NvdW50Iiwia3ViZXJuZXRlcy5pby9zZXJ2aWNlYWNjb3VudC9uYW1lc3BhY2UiOiJrdWJlLXN5c3RlbSIsImt1YmVybmV0ZXMuaW8vc2VydmljZWFjY291bnQvc2VjcmV0Lm5hbWUiOiJkYXNoYm9hcmQtYWRtaW4tdG9rZW4tOHZ4OG0iLCJrdWJlcm5ldGVzLmlvL3NlcnZpY2VhY2NvdW50L3NlcnZpY2UtYWNjb3VudC5uYW1lIjoiZGFzaGJvYXJkLWFkbWluIiwia3ViZXJuZXRlcy5pby9zZXJ2aWNlYWNjb3VudC9zZXJ2aWNlLWFjY291bnQudWlkIjoiNTgzZDMxN2ItYmNjMS0xMWU5LWIyODctZmExNjNlNzI2MGY0Iiwic3ViIjoic3lzdGVtOnNlcnZpY2VhY2NvdW50Omt1YmUtc3lzdGVtOmRhc2hib2FyZC1hZG1pbiJ9.vehPzKk-zQ_riHqzTB9tA6ong7KJaYtau1_gP6ktoRJkgAtwhtUzY5CF91y4AiE1HsnJnmopL8rVmfZKyhoBlZIG5Ez4udWQOZwhKV1DbgOyHWQETSwd7QnTDTx1NDQ-Lf94zwKwsM8y0NgPEpXY9vbc9YnQPgZw_gs1RbGmmAhldxiZ28NAWUVpImsaYB7WN-9fwn_bBCywkYVYze_-5Z7sQZ18Of-nI-LbHdyrL44qAFVPGUVbUzW8epUNmWNJhXxWkFYPE_TLsAGXSqlY-nxesuGB-PXX_2k6i5QXzWllUmkt1BI3-hs_PFkIntZkPkEHFcESwSBDg-c-IXl9ow
使用输出的token登录Dashboard
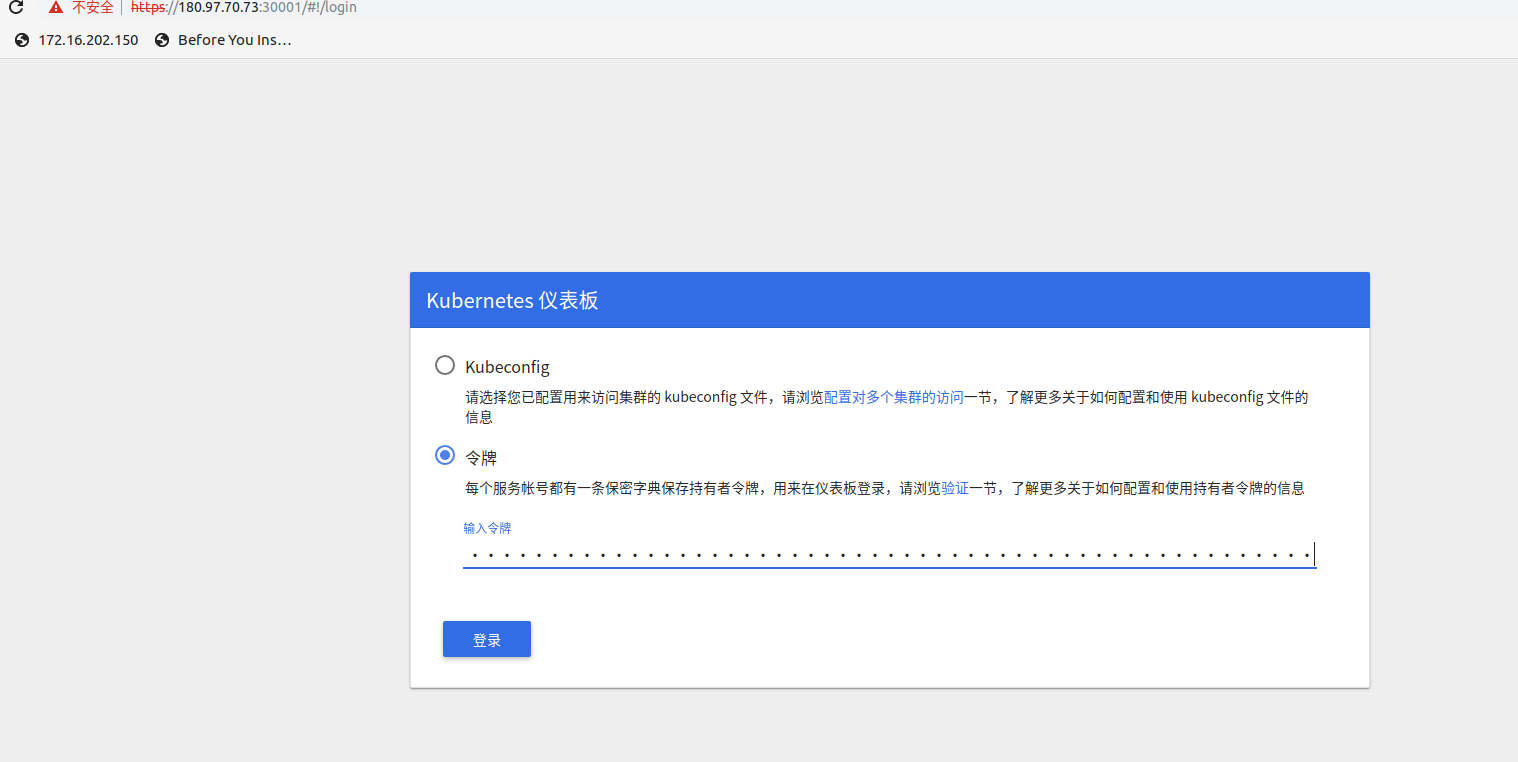
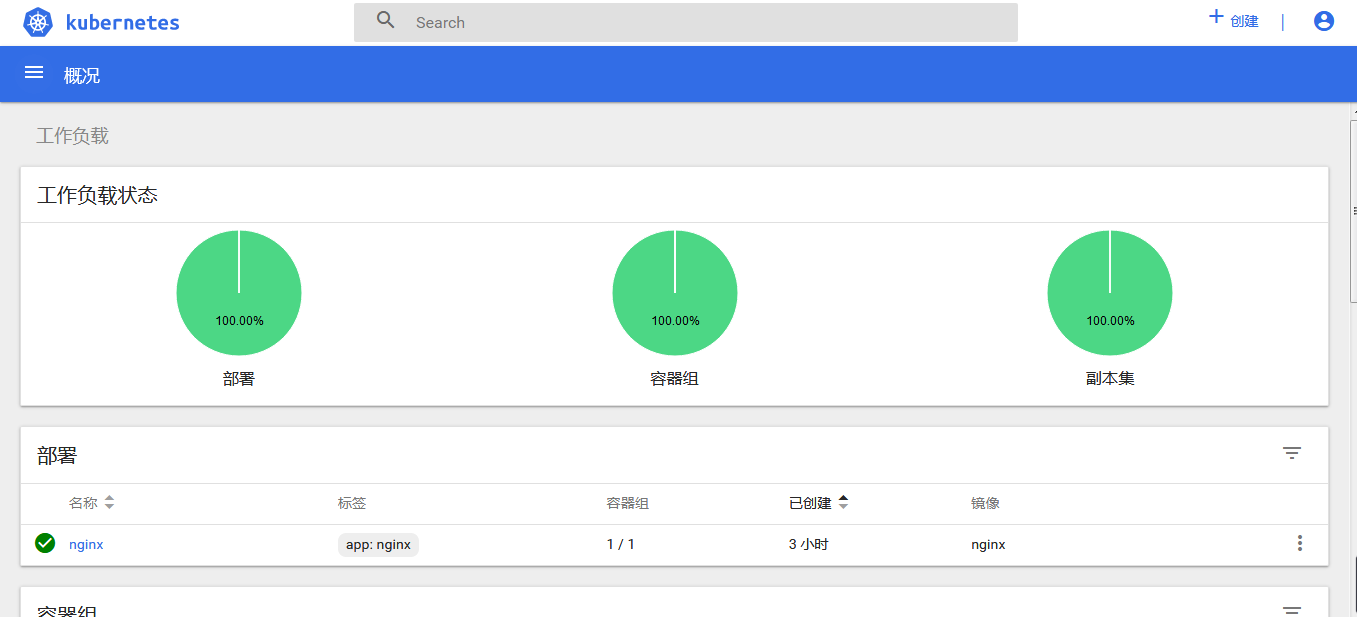
6.7 登录dashboard
- 我的微信
- 这是我的微信扫一扫
-

- 我的微信公众号
- 我的微信公众号扫一扫
-